It is easy and fun!
The home AI platform I have built worked out so well that I have decided to make information on all the important bits (components, materials, exact dimensions, etc.) available to all Labbers. Here you will see just how easy it is to assemble this robot lab in your own home and do your own experiments. Here I will also share with you the ‘no-no’s’ to avoid those things that might trip you up. Some of the simplest things took the longest to figure out – you don’t have to spend all that time and money to figure this out, I will show you.
You also do not need to know how to program in Java to get started – I cannot think of a more fun way to start writing simple Java programs. This is your chance to learn Java the fun way and send commands to your EV3 robot over WiFi! This is my way to say thank you for supporting my research and ensuring there will be new projects and interesting demo videos created for everyone to see on my YouTube Channel for your enjoyment – please like & subscribe!
Tip of the Week

I am including a Tip of the Week section where I will be sharing with you all the tips and tricks to get you going quickly, correctly and help you avoid costly mistakes.
Click here to see the Tip of the Week (and all the archives of past tips per category).
Why use the Xzistor LAB approach?
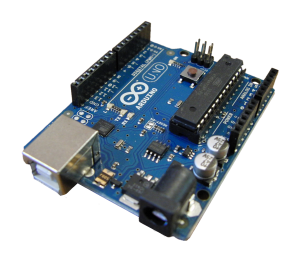
Why use the Xzistor LAB configuration comprising the Lego EV3 Mindstorms system above all the other single board computers available on the market like Raspberry Pi, Arduino etc….
The answer is simple.
The fully integrated sensors and motors means there is no need for spending time configuring and integrating these onto your processor or single board computer – no soldering! It is all plug-and-play!
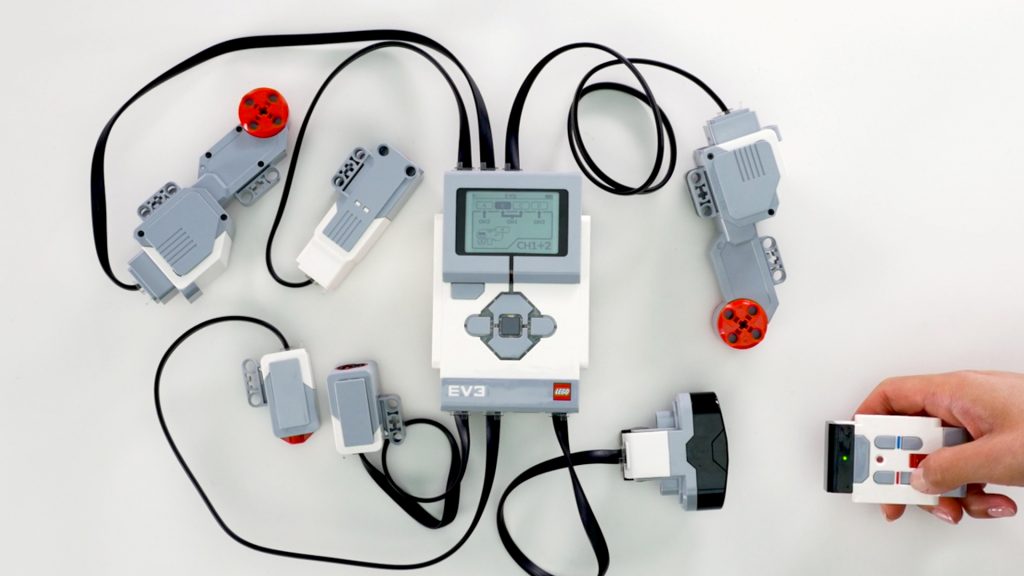
Don’t make the mistake to think Lego is for toddlers. The simple Lego EV3 brick is changed into an extremely powerful AI platform by replacing the Lego Mindstorms firmware with the LeJOS replacement firmware. This means you simply open up a coding app (like totally free Eclipse) on your PC and start writing Java code. By dropping the simple motion commands provided by LeJOS into your program – you can send action commands directly from your PC to the EV3 brick on your robot over WiFi and Bluetooth. So effectively the EV3 brick only needs to do two things well:
- Send sensor readings to the PC over WiFi
- Forward action commands from the PC to the EV3 motors, speaker, LEDs, etc.
Troopy runs on a 30 000 line Java program including HD video processing and dashboard graphs (updating at 50 milliseconds) running in separate threads. And as the Xzistor Concept is completely scale-able, I can add as many motors and sensors as I wish and crank up the overall speed by increasing processor power. The nice thing about Java and Lejos is there are masses of free sample programs and code on the Internet. Because it is so popular and established, you don’t have to prowl around the internet looking in dark corners for messy workarounds and bug fixes!
If you’re aim is to build robots for the purpose of testing your own AI algorithms and routines – I strongly suggest you use my tested and tried EV3 platform which has worked trouble-free for many years now and exceeded my wildest expectations.
Having said that – if you enjoy tinkering with electronics and soldering – you can still do that and add your own mechatronics solutions to the modified EV3 platform.
Start here!
Start here to begin your adventure.
The Xzistor LAB platform comprises 3 components:
- The Learning Confine
- The Robot
- The Programming App on your PC (where you can write your control program or ‘brain’ in Java)
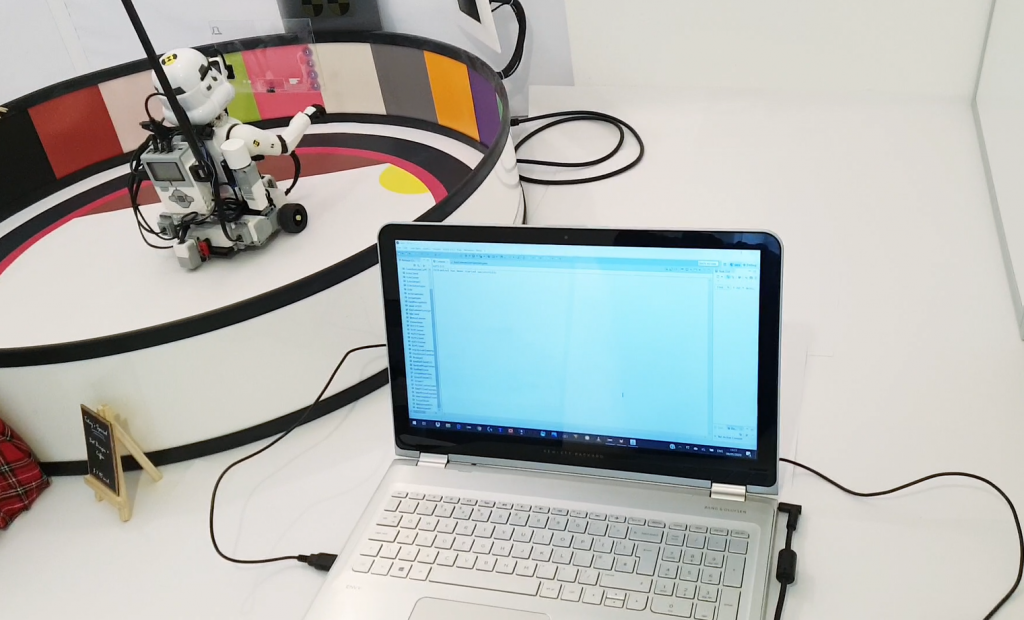
In this part of the website we provide you with tips for helping you set up your own AI lab similar to the one you have seen on this website (www.xzistor.com) and my Troopy YouTube Channel. Your setup does not need to look anything like mine, but I will provide you with some important tips to help you save money and time. This is my way of thanking my Labbers for supporting my research and encouraging me to start new projects and make more videos for everyone to learn from and to and enjoy!
Designing a Learning Confine
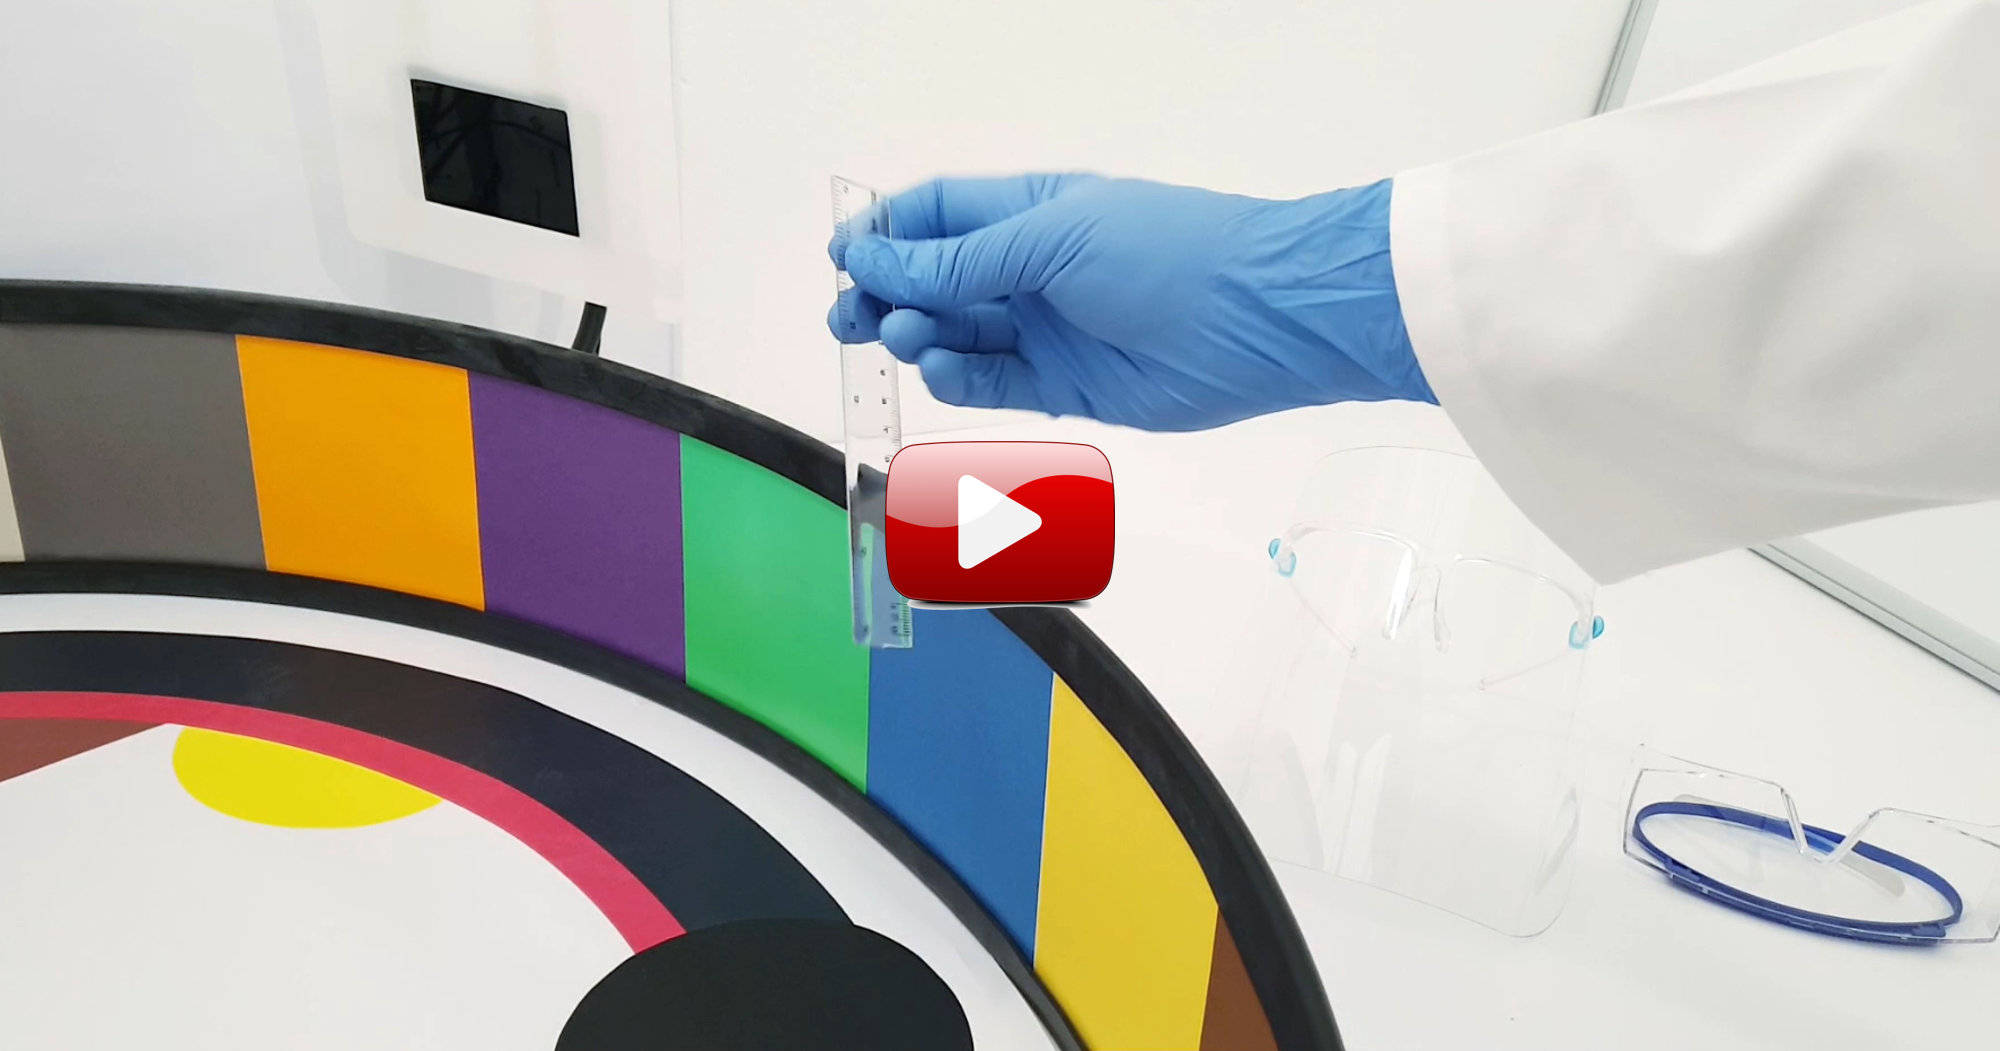
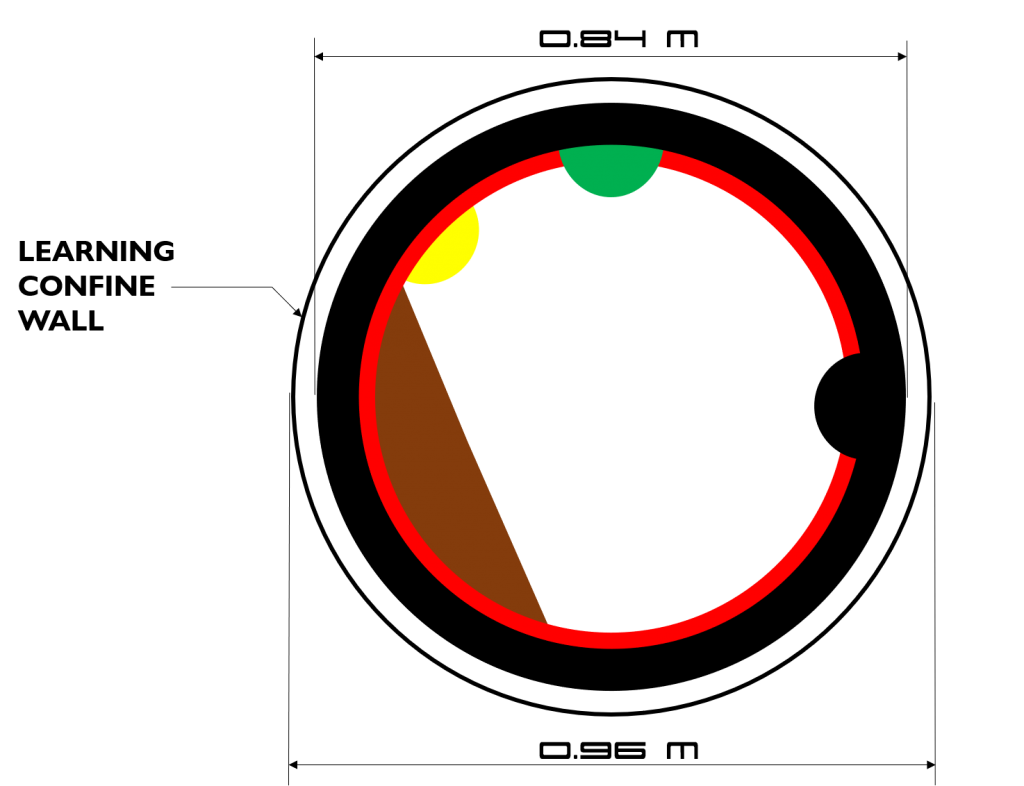
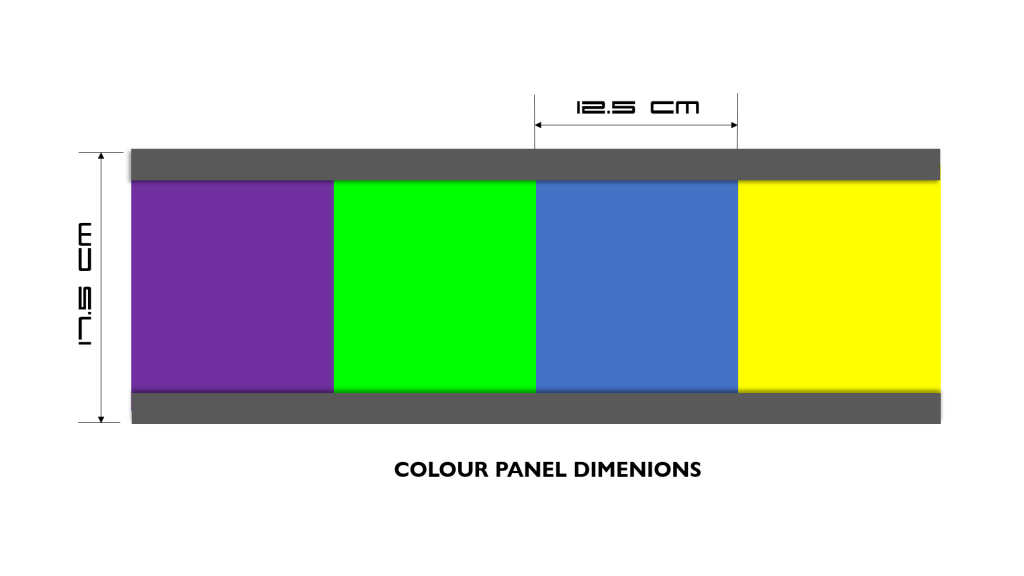
In the video below you can see me measuring up the Learning Confine. The final dimensions are also shown below for your convenience. There are good reasons why you should stay as close as possible to these dimensions.
Designing a Robot
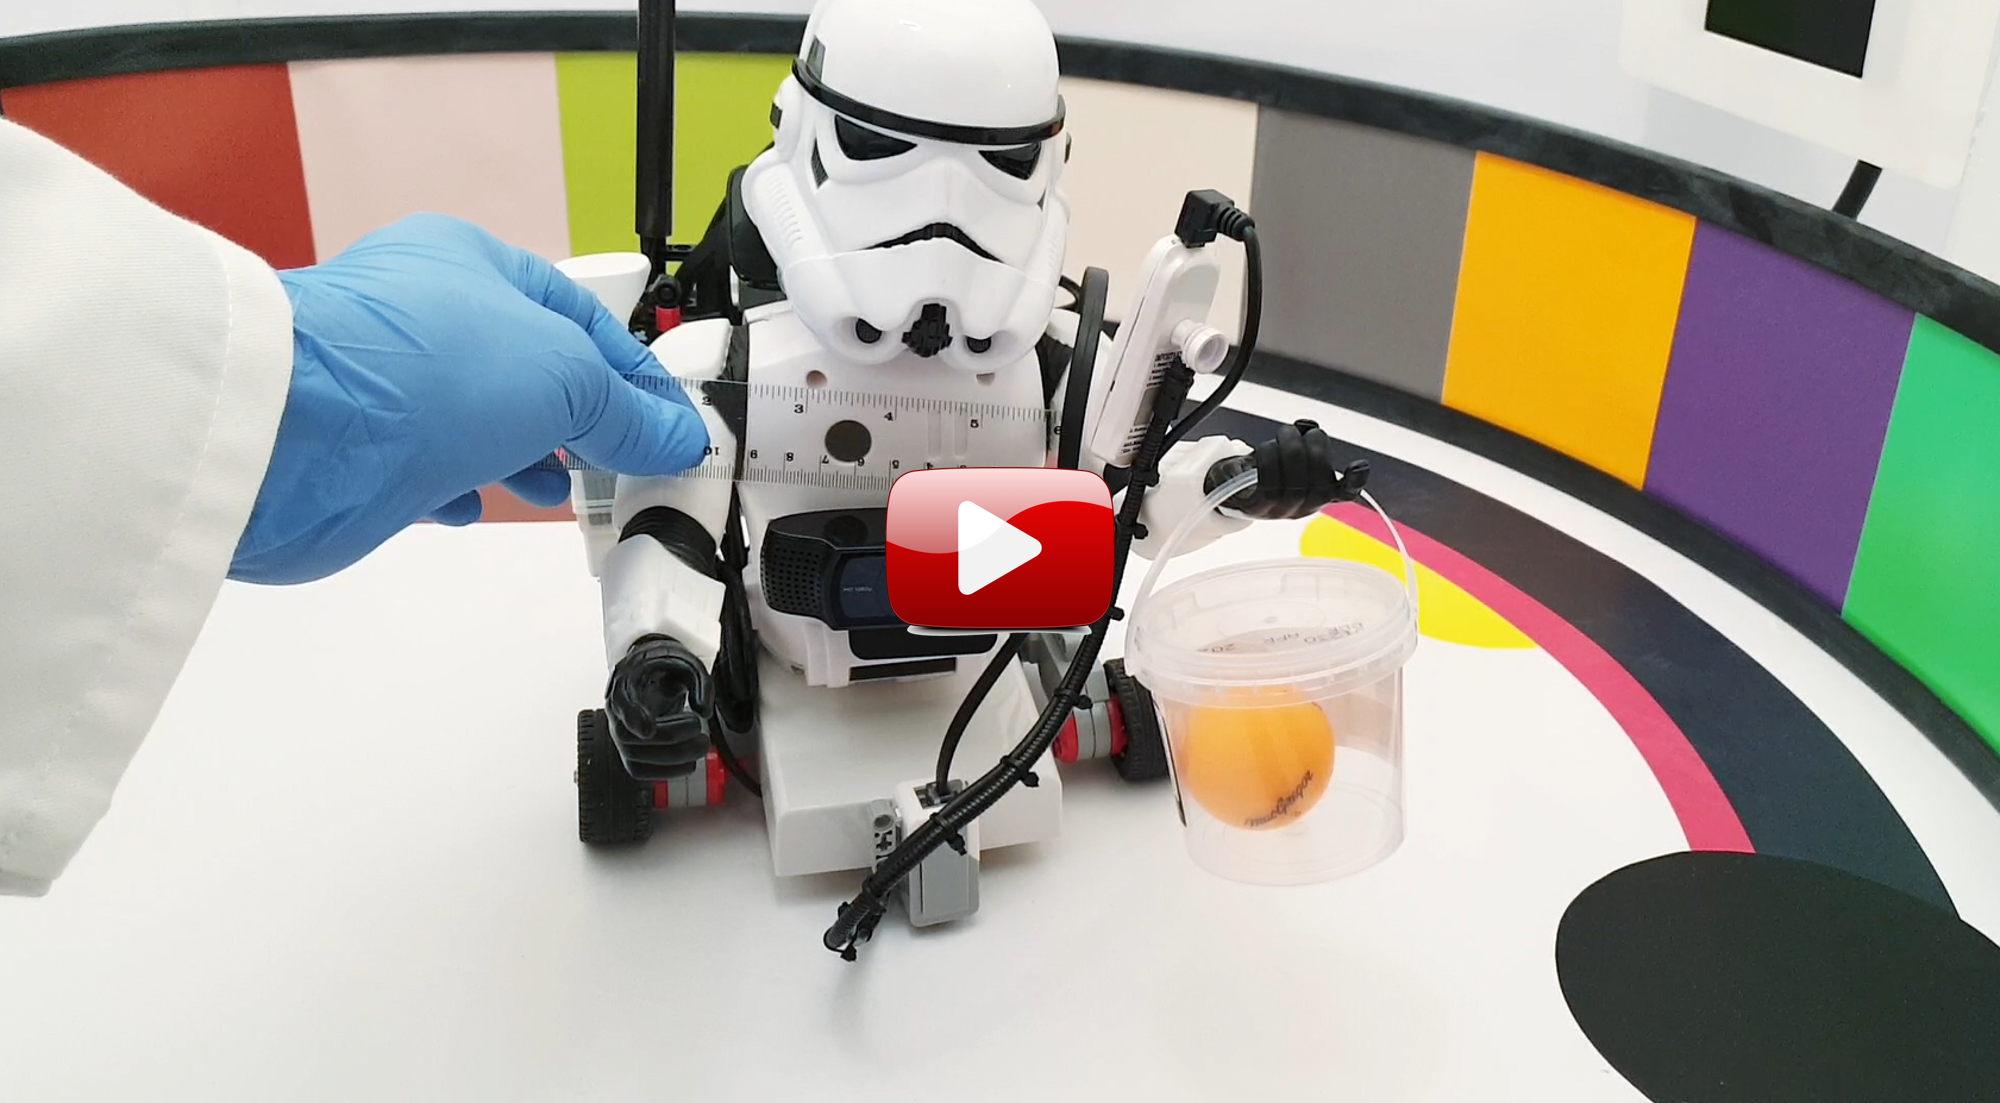
There is quite a bit of flexibility in how you design your robot. You can base you design on a known famous toy / movie character or build a completely new design. There are however a few key dimensions that you need to consider if you want your robot to work like mine. The camera height works well at 10 – 11cm above the confine floor (middle of lens) – see the video below. The arms should be able to move and the hands to rotate – and the camera should be positioned so as to not be obscured by hand motions. It requires a clear view of the Learning Confine wall to ‘see’ the colours.
Also, the wheel base width should be as shown in the video below and be careful to get the Centre of Gravity (COG) right as the Lego EV3 Mindstorms brick is quite heavy and could cause the robot to topple over. For this reason the brick must also not be fitted too high above the Learning Confine floor.
Connecting your Robot to your PC
Controlling the Robot from the Computer means we need to install some software (all totally free!) on the computer and also on the EV3 brick. Preparing the Computer to connect to the EV3 brick also means we need to install an umbilical cord to keep powering the Robot as running the EV3 on batteries will be way to expensive and just too much hassle! We can run a standard USB cable from the HD camera through a slipring and via the umbilical to the Computer. Do not try to send the HD video over the EV3 brick WiFi as it is quite slow (I managed to get 5 – 7 frames / second at best!).
For a step-by-step guide (with screenshots) on how to download the correct software on your Computer and the EV3 brick – please go here.